Mastering Tactical Precision: Securing S Rank in Ready or Not Missions
2025-01-13

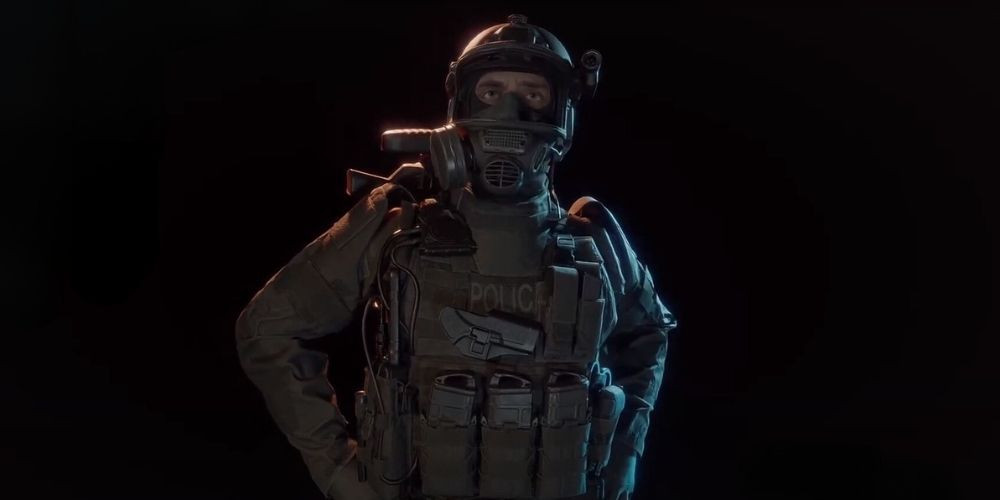
As an elite SWAT operator, your goal in Ready or Not is not just to complete each heart-pounding mission but to achieve the ultimate recognition of skill and precision - the S rank. This denotes a level of mastery where you have operated within a razor-thin margin of error to carry out the mission objectives while keeping everyone alive. Let’s walk through the strategic moves and decisions that can take you and your squad from good to exceptional as you aim for that S rank in every mission.
Understanding S Rank Requirements

Before diving into the tactics, it’s critical to know what the game expects from an S rank contender. Succeeding in a mission with such a distinction means accomplishing all the objectives the mission presents without loss of life, involving both suspects and your team. It’s a non-lethal ballet coordinated with precision equipment and tactics. Arresting suspects, even those aggressively confronting you, becomes paramount.
Step 1: Gear Up with Non-Lethal Loadouts
Your choice of gear is the foundation of your non-lethal strategy. Equip your squad with Less Than Lethal (LTL) options, such as beanbag shotguns, pepperball launchers, tasers, and an assortment of tactical grenades. The pointman should have a taser and shield for maximum effectiveness. Remember, even though LTL options exist, caution is vital - items like beanbag shotguns can still be fatal if not used with care.
Step 2: Master the Morale System
Understanding the AI’s morale system puts you in the psychological seat of power. NPCs will surrender once their morale is depleted, triggered by LTL weapon impacts, tactical grenades, and verbal commands. Compromising suspect morale using door breach tactics like ramming or shotgun breaching also plays a critical role, but be mindful of the potentially deadly repercussions of C2 charges. Maximizing morale impact while minimizing physical harm is the key to unlocking S ranks.
Step 3: A Tactical Symphony of Commands

Coordination is everything in a non-lethal approach. Assign clear roles to your teammates and strategically shout commands to manage suspect morale. Securing a suspect’s surrender without resorting to force is an art, and like any conductor of a symphony, you need to know when to hold your team back and when to take assertive, non-lethal action. The taser-wielding pointman should also work in concert with the squad, subduing suspects as efficiently as possible.
Step 4: Practice, Patience, and Perseverance
Securing S rank is not a one-time lucky feat. It requires a great deal of practice to get a good grasp of the mechanics, map layouts, and suspect behaviors. Be patient with your progress; there will be mission restarts and plenty of learning opportunities. Each attempt brings you closer to that perfect non-lethal run. And remember, perseverance is essential. You and your team will need to adapt to the unpredictability that Ready or Not throws at you with each playthrough.
Final Thoughts
While obtaining an S rank is not necessary for progression or cosmetic unlocks, it stands as a testament to your tactical prowess and the disciplined execution of each mission’s objectives. It’s a challenge that beckons the best of the best, and with the right strategy, the consistent use of non-lethal techniques, and a dedication to practice and adaptation, you’ll be proudly standing atop the leaderboard with the epitome of virtual SWAT efficiency – the coveted S rank.


